
You press the camera button at dinner, at the taxi stand, or right before someone smiles, and the screen gives you a blur, a black frame, or focus that just won't settle. That's the moment people start searching for how to fix iPhone camera problems without making the phone harder to repair later, or wrecking resale value down the line.
The good news is that a camera fault usually falls into a small set of causes. In the bench work I've seen in Singapore, the problem is often basic, a lens obstruction, a software hiccup, or a connector issue, and Apple's own troubleshooting path starts with that same logic, confirm the symptom, separate software from hardware, and only then go deeper. Apple's support guidance also makes it clear that some camera replacements involve genuine parts and device pairing, so the repair choice you make can affect both the fix and what happens when you trade the phone in later. Apple's iPhone camera troubleshooting guidance sets that foundation, and the rest of this guide follows the same practical order.
Table of Contents
- When Your iPhone Camera Decides to Misbehave
- Quick Software Checks You Can Do in Under Five Minutes
- Cleaning the Lens and Inspecting the Hardware
- Reading the Symptoms to Tell Software From Hardware
- DIY Repairs Versus Professional Service in Singapore
- Repair, Data Safety, and Sustainable Reuse
- Your Camera-Fix Checklist and What to Do Next
When Your iPhone Camera Decides to Misbehave
You know the feeling. The family is already seated, the food is on the table, and you raise the iPhone for a quick photo, only to see a soft blur, a stubborn black screen, or a camera that keeps hunting for focus like it's lost in a fog. In my experience, that panic is usually bigger than the repair itself.
The problem usually falls into three buckets
Most iPhone camera complaints sit in one of three buckets, software, physical obstruction, or hardware wear. Apple's consumer guidance starts with the simple checks because those are the failures that show up most often in real use, especially when a case, accessory, or app bug is involved. Apple's camera not working guidance is built around that same first-pass logic.
A software fault can look dramatic even when nothing inside the phone is damaged. The app freezes, the preview doesn't load, or one third-party app behaves badly while the native Camera app still works fine.
Practical rule: if the camera changes behaviour after a restart, an app switch, or an iOS update, treat it as a software problem until the pattern proves otherwise.
Why Singapore users should be patient before replacing parts
In Singapore, many people keep their phones longer than they used to, so every unnecessary replacement hurts twice. It costs more up front, and it can also reduce the phone's future value if a repair introduces a parts warning or an unverified component.
Apple's own repair model now reflects that reality. Genuine iPhone cameras are paired to the device, and modern servicing is no longer just a quick module swap, it's a workflow that mixes diagnosis, calibration, and part verification. That's why a careful technician will never jump straight to a rear camera replacement just because the image looks soft.
A physical problem is different. A dirty lens, a cracked cover glass, or a magnetic accessory sitting too close to the optics can create blur that looks like sensor failure, but the fix is much simpler. myhalo's guide to common iPhone problems and solutions is useful background if you're trying to separate camera issues from broader device faults.
Quick Software Checks You Can Do in Under Five Minutes
Start with the camera itself, not a third-party app
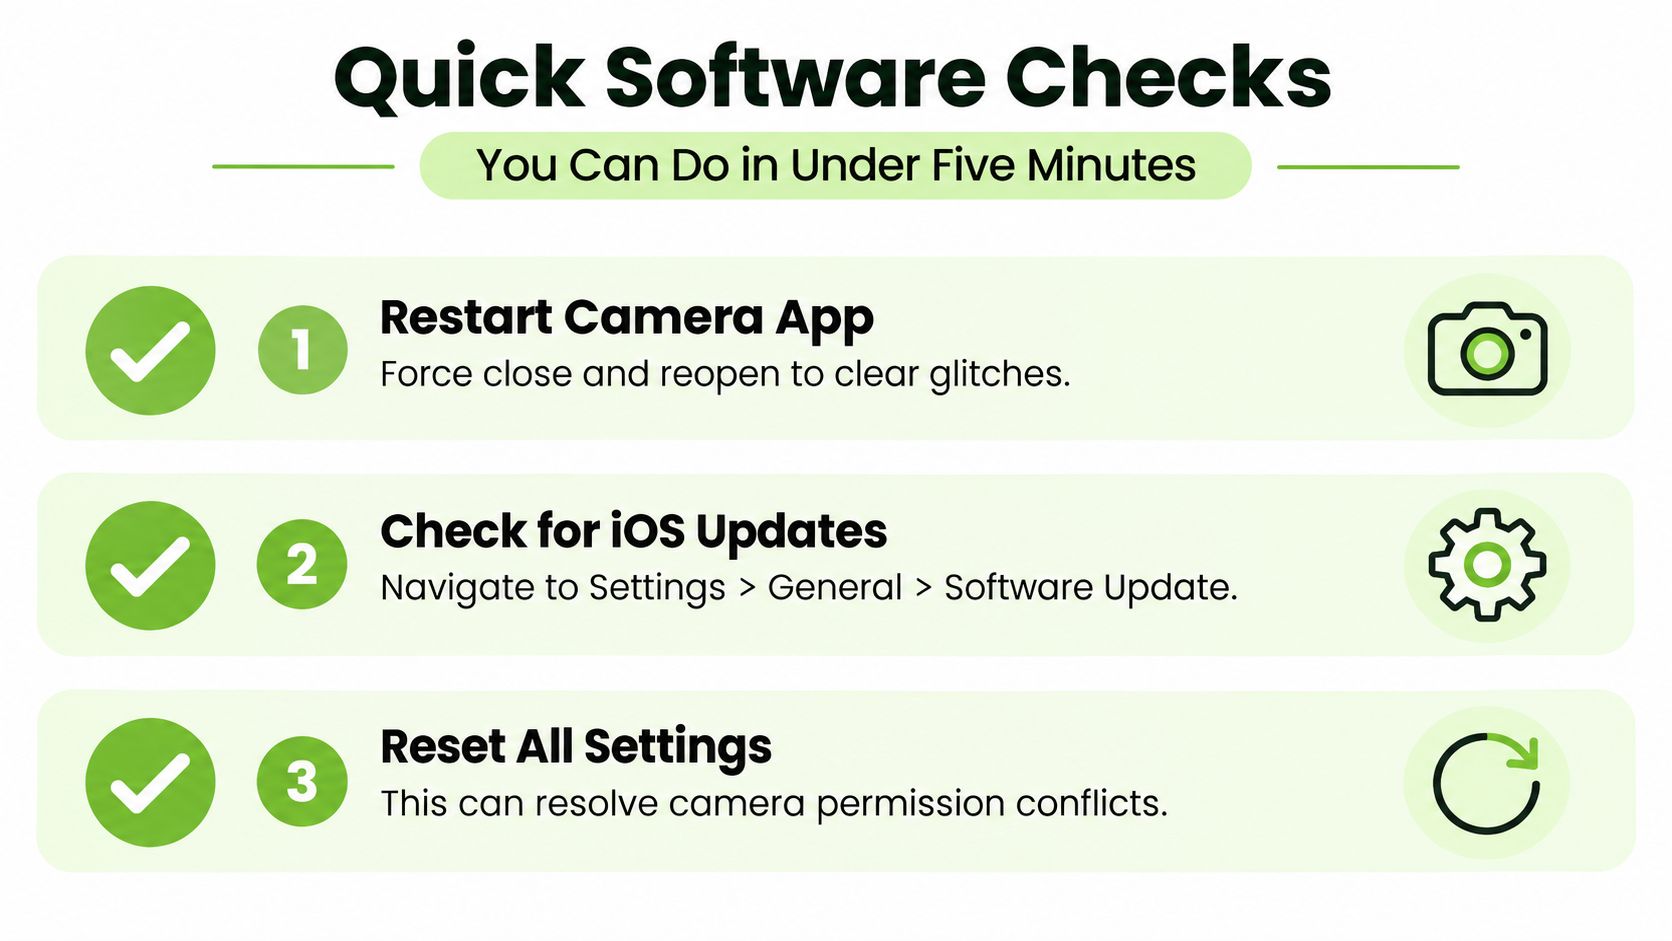
Open the Camera app from the Lock Screen first. Apple uses that test because it helps separate a system camera fault from an app-specific issue, and it's the fastest way to see whether the problem is happening everywhere or only inside Instagram, WhatsApp, or Zoom. Apple's camera troubleshooting flow follows that exact idea.
If the native Camera app works, but one other app doesn't, the fix is usually permissions, app settings, or the app itself. That's a very different job from opening the phone.
Restart, update, and check permissions in order
Restart the phone next. A restart clears stuck background processes, and it's often enough when the camera preview has frozen or the shutter is delayed for no obvious reason. Then update iOS, because Apple's camera stack and image processing are tied to the operating system, so an update can clear a bug that a simple app relaunch won't touch.
After that, check the app permissions for any third-party camera app. If an app can't access the camera correctly, it may look like a hardware fault when it's really a settings problem. Apple's own support sequence also puts software checks ahead of anything invasive, which is the right order for most users.
If you create short video clips or content on your phone, a clean camera setup matters even more. A practical reference is iPhone AI apps for content creation, because apps in that workflow often expose permission or camera access issues quickly.
When a reset is still reasonable, and when it isn't
If the issue survives a restart, update, and permission check, the fault is less likely to be a simple app glitch. At that point, resetting all settings can help if the problem is caused by a weird camera permission conflict or a mis-set system preference, but it's still a software-level move, not a repair.
Don't jump straight to a factory reset unless you've already ruled out the basics. Apple's support guidance puts cleaning, restart, and software update ahead of deeper intervention, and that sequence saves a lot of people from wiping a phone that only needed a reset of camera access.
Cleaning the Lens and Inspecting the Hardware
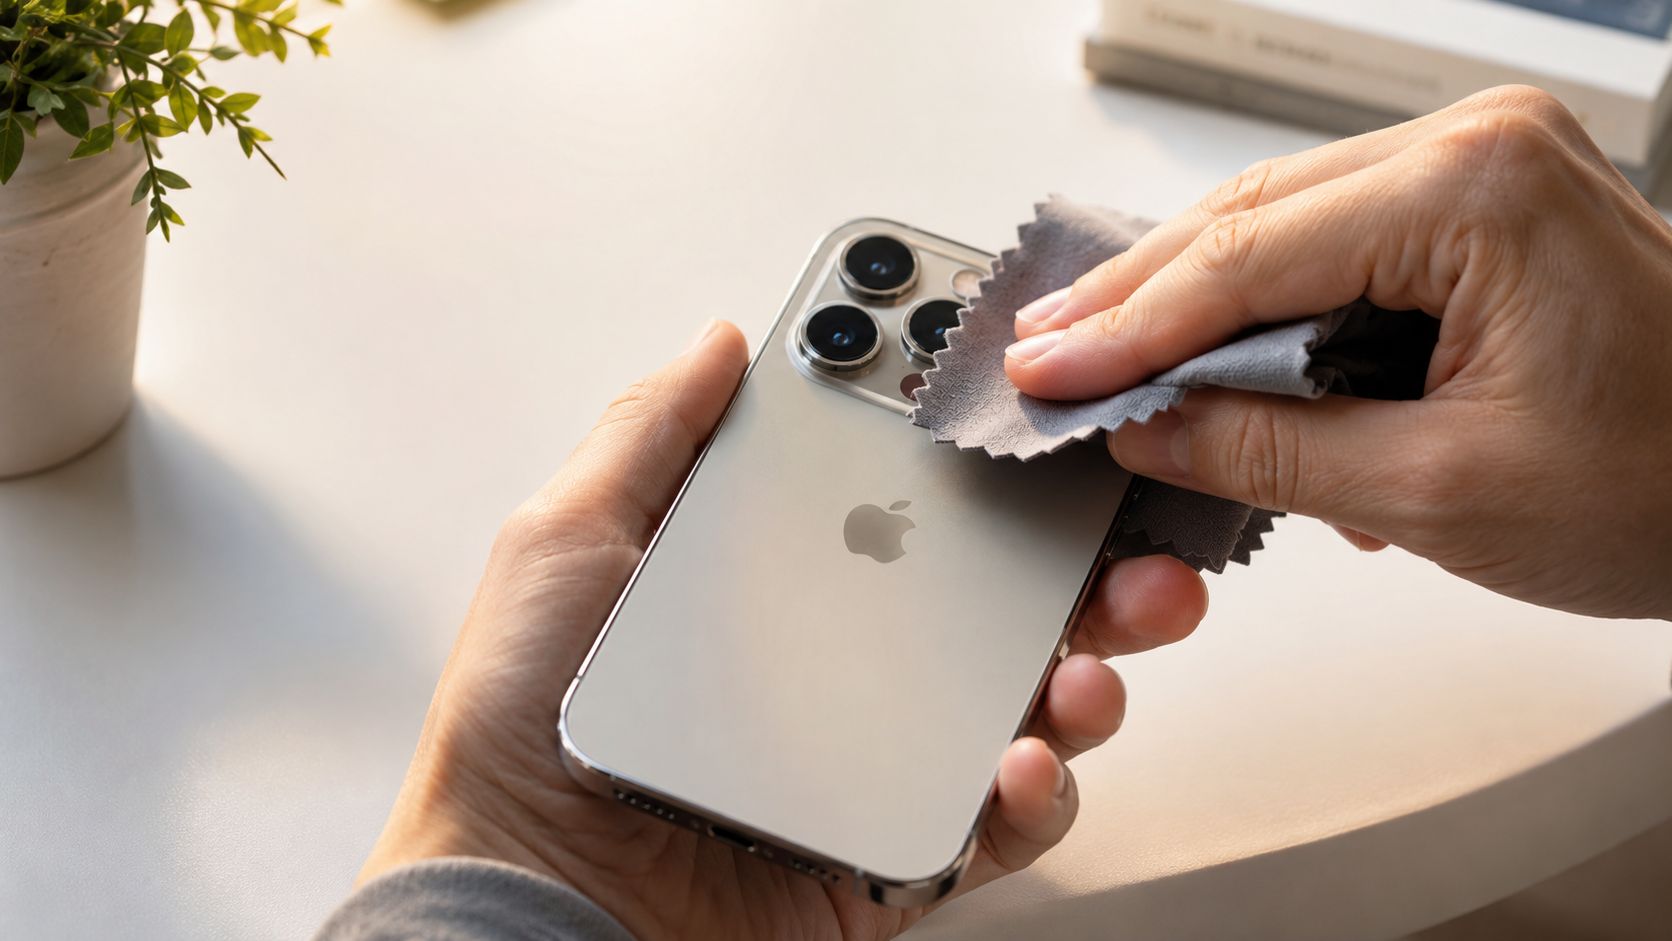
A surprising number of “broken” cameras turn out to be dirty lenses, tight cases, or accessories sitting where they shouldn't. I've pulled phones from pockets full of lint, food oil, and construction dust, then watched the camera look perfect again after a careful clean.
What to remove before you touch the lens
Take the case off first. Then remove any lens film, polariser, magnifier, or magnetic accessory that could block the optics or confuse low-light shooting. Apple specifically warns that accessories with magnets or lens converters can create blur or motion artefacts, so if the camera looks odd only when a certain add-on is fitted, the add-on is the suspect.
Use a microfiber cloth, not a shirt hem, tissue, or wet wipe. Those quick substitutes can leave residue or grind grit across the lens coating, which does more harm than the original smudge.
How to inspect the outside of the camera module
Look closely at the camera bump, lens ring, and flash. You're checking for hairline cracks, lifted edges, trapped dust, or condensation inside the glass. Even a tiny chip can scatter light and make the image look soft or hazy, especially in bright daylight.
A phone that has been dropped may also develop a loose or uneven camera surround. That doesn't always mean the whole module is dead, but it does mean the optics may be out of alignment.
Practical rule: if the camera looks worse after a drop, inspect the lens ring and flash area before you assume the sensor is gone.
What not to do while cleaning
Don't blow into the lens housing. Breath moisture can fog the glass, and compressed air can push debris deeper into the assembly if you're unlucky. Don't press hard on the lens either, because the goal is to lift contamination, not scrub the coating off.
If you see dust or moisture inside the camera housing itself, stop there. That's no longer a wipe-and-go fix, and forcing the issue can turn a cleanable problem into a proper repair.
Reading the Symptoms to Tell Software From Hardware
The fastest way to avoid wasting money is to read the pattern, not just the symptom. Two phones can both show a black camera screen, but one clears after a restart and the other never behaves normally again until the module is serviced.
Temporary glitches usually point to software
If the camera fails only once in a while, then works again after a restart, update, or app switch, software stays near the top of the list. That includes a frozen preview, a shutter that refuses to trigger in one app, or a camera that opens late but then behaves normally.
Apple's diagnostic sequence mirrors that logic. It tells you to test the camera from the Lock Screen, run diagnostics, and only then disassemble or replace parts if the fault survives. Apple's repair and diagnostic workflow is a good reference for that step-by-step separation.
Persistent faults usually point to hardware or pairing
If the screen stays black every time, the focus never settles, or you keep seeing strange coloured blobs after a reboot, that starts to look like hardware. A damaged connector, a failing module, or contamination in the assembly can produce exactly those symptoms.
Modern iPhones complicate the picture because the camera system isn't just a lens and sensor anymore. Apple's camera support now explicitly separates genuine camera-part problems from software symptoms, which tells you the failure can live in the sensor, the settings, or the pairing/calibration chain rather than in one obvious broken piece. The old “swap the module and move on” logic doesn't always hold.
Why the same fault can look different in different modes
A camera may behave in bright light but struggle in low light, or it may work on the front camera while the rear camera fails. That doesn't automatically mean the whole phone is toast, it just narrows the field.
Some faults only show up in one app or one lighting condition, and that's usually the clue that saves the repair bill.
If you need another clue, compare the symptom with water or impact history. myhalo's water-damaged phone repair cost guide is useful context when the issue started after moisture exposure, because water damage tends to create messy, inconsistent camera behaviour rather than a neat on-off failure.
DIY Repairs Versus Professional Service in Singapore
Once the camera starts looking physical rather than digital, the question becomes simple, can you safely do anything yourself, or is this a job for a proper bench. The honest answer depends on how deep the fault goes, how old the phone is, and whether you care about keeping resale value intact.
DIY can make sense when the fault is simple
A careful DIYer can sometimes reseat a loose connector after a drop, especially if the problem is a camera that works intermittently and the phone is already out of warranty. If you're experienced with small electronics and you already know how to open the device properly, that may be enough to restore contact.
The risk is that a loose-looking problem is not always a loose connector. On newer iPhones, the camera module and the logic board can be part of a tighter repair ecosystem, so a rushed fix can leave you with a warning message, an unresolved fault, or a worse problem than the one you started with. Apple's note on genuine camera parts and verification matters here because part authenticity can affect the repair outcome.
Professional service is safer when the phone still has value to protect
A professional bench can run diagnostics first, inspect connectors for debris or damage, and retest after reassembly. That matters because Apple's own service procedure explicitly calls out connector inspection and careful reseating before the device goes back together, which is exactly the kind of work that's hard to do confidently without the right tools.
If you're trying to compare repair paths across different phone issues, browse smartphone articles for a broader sense of how repair decisions usually break down by device condition and age.
DIY Repair vs Professional Service in Singapore
| Factor | DIY Repair | Professional Service |
|---|---|---|
| Access | Good if you already have tools and experience | Easy if you want a guided diagnosis |
| Risk | Higher, especially around connectors and seals | Lower, because the fault gets tested before opening |
| Warranty impact | Can be risky on newer devices | Better chance of preserving proper documentation |
| Parts | May use non-genuine parts or unknown sources | More likely to use verified or genuine parts |
| Resale value | Can drop if a part warning appears | Better protected when work is documented |
| Best fit | Older device, clear simple fault, confident user | Newer phone, unclear fault, resale value matters |
If you want to compare parts quality before choosing a path, myhalo's phone repair parts overview is a useful reference point for what a proper service should be thinking about.
Repair, Data Safety, and Sustainable Reuse
A camera repair rarely ends with the camera. Once you're already deciding whether the device is worth opening, you're also deciding what happens to your photos, your privacy, and the rest of the phone's life.
Back up before any service
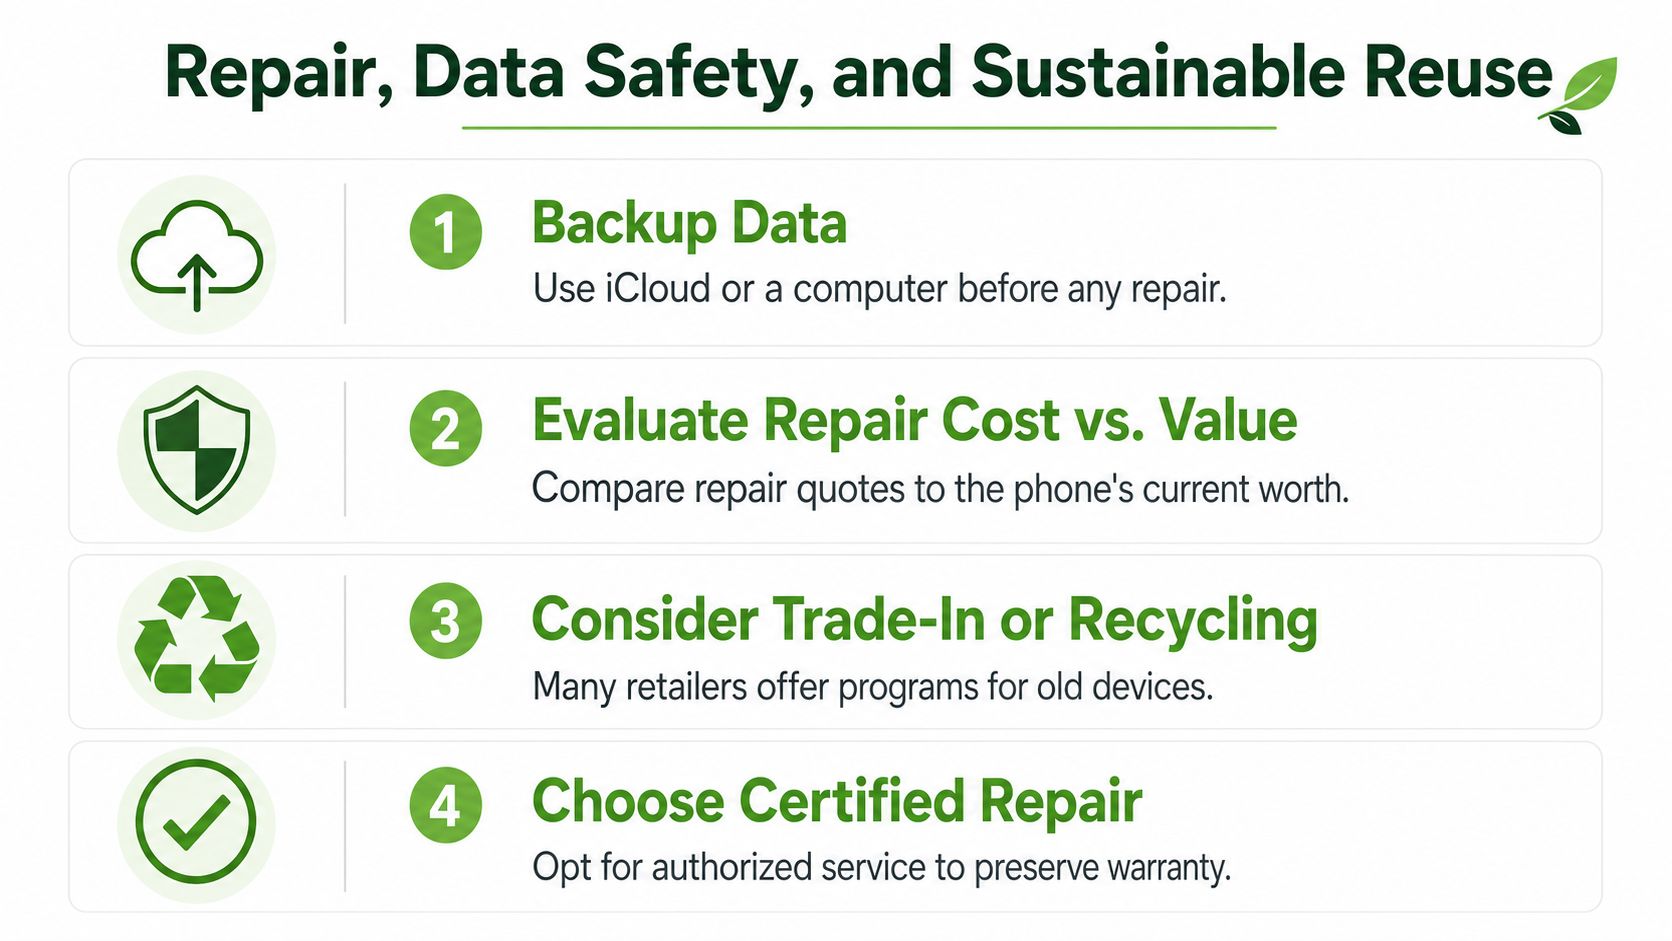
Back up your photos and files before you hand the phone over, even if the camera issue looks minor. A repair can go sideways for reasons that have nothing to do with your original fault, and you don't want a camera job turning into a data-loss job.
If you're not sure how to prepare, backing up an iPhone properly is the safest first step.
Choose the path that matches the phone's real value
If the repair bill starts to feel close to the phone's worth, the better move may be to trade it in, resell it, or recycle it responsibly. That's where the wider device lifecycle matters. Repair keeps a phone in use longer, while reuse and certified resale keep functional devices out of the scrap stream and reduce unnecessary e-waste.
In Singapore, myhalo is one practical option for that stage of the decision. It supports Repair and Rescue diagnostics, certified ReLoved resale, trade-in and buyback pathways, and upcycling that harvests usable parts from devices that are at end of life. The point isn't to force every phone into one lane, it's to keep the phone useful for as long as it still makes sense.
The cleanest repair is the one that preserves data, protects privacy, and keeps a working device in circulation for as long as possible.
Don't ignore the data side of retirement
If the phone won't be repaired, secure data erasure becomes part of the fix. That matters just as much as the camera itself, because a retired phone can still hold messages, photos, app logins, and files.
Myhalo also fits naturally into that handoff if you need secure data handling, resale support, or a repair decision that leads into reuse instead of waste. A careful camera fix should leave you with a working device, but a smart exit plan should leave you with a clean data trail and no unnecessary clutter.
Your Camera-Fix Checklist and What to Do Next
If the camera's acting up, use this order. First, test the Camera app from the Lock Screen, restart the phone, update iOS, and check app permissions. Next, remove the case and any magnetic or lens accessory, then clean both lenses with a microfiber cloth.
If it still fails, read the symptom pattern. A fault that comes and goes usually points to software, while a persistent black screen, focus hunting, or odd colour blotches leans hardware. After that, choose carefully between a DIY connector check and professional service, especially if the phone still has trade-in value.
If you want a second opinion before replacing anything, bring it in early. A quick diagnosis usually beats a rushed part swap, and it gives you more room to choose repair, resale, or responsible retirement with confidence.
Your precious files and memories matter, and the right camera fix should protect both the phone and the data on it. If you'd like a careful diagnosis, a repair plan, or a trade-in path that keeps your device useful for longer, visit myhalo and speak with the Singapore team today.