
Your Mac has started to behave strangely. The beachball keeps spinning, a document refuses to open, or a folder that was there yesterday has disappeared from Finder. If you're hearing clicking from a MacBook or watching an external drive vanish and reappear, the sinking feeling is understandable. Your files may still be recoverable, but the next few actions matter.
Mac hard drive failure recovery isn't one single process. A corrupted file system, accidental deletion, failed cable, damaged hard disk drive, and failing SSD each need a different response. Recovery and disposal also lead to different outcomes. One aims to retrieve your files, while the other must make personal data permanently inaccessible.
Table of Contents
- When Your Mac Drive Starts Acting Up
- Logical Failures Versus Physical Failures
- Safe DIY Checks You Can Try First
- Knowing When to Stop and Call a Lab
- Inside a Professional Recovery Lab
- Success Rates, Pricing and Turnaround
- After Recovery, Data Security and Disposal
When Your Mac Drive Starts Acting Up
Start with preservation, not repair. The first hour is when well-intentioned troubleshooting can change the storage device and reduce the options available to you later.
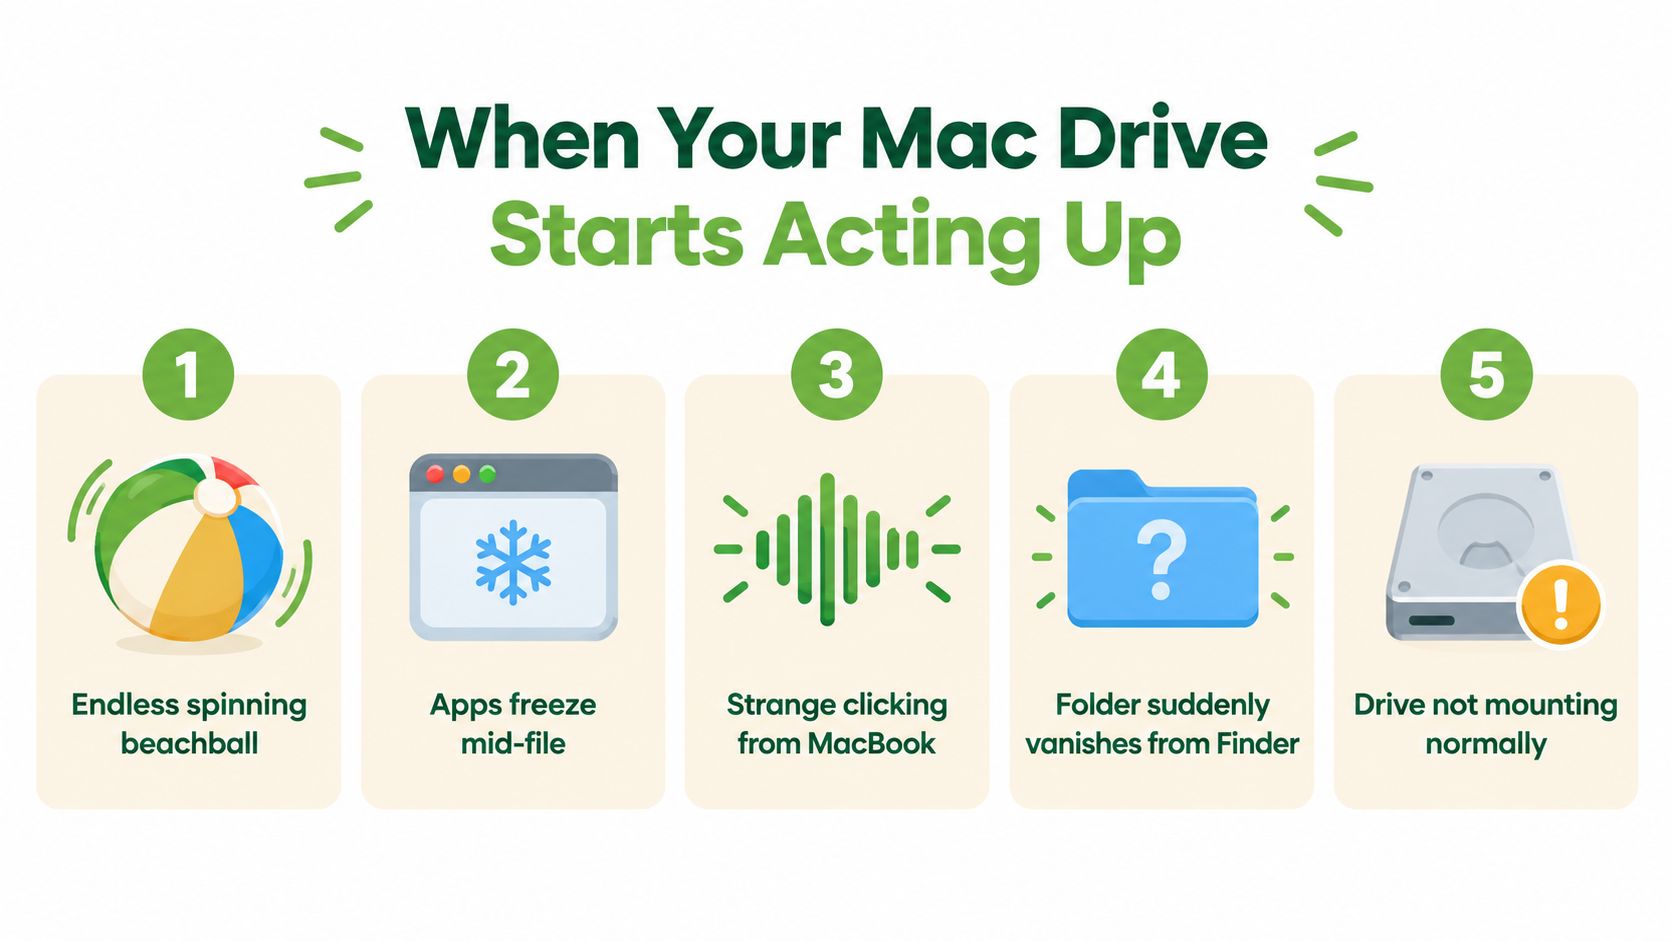
Your first-hour checklist
- Stop writing to the affected volume. Don't download recovery software, reinstall macOS, move large folders, or keep working from the drive. New writes can overwrite files that you're trying to retrieve.
- Photograph error messages. Capture the question-mark folder, Disk Utility warnings, kernel panic text, or any message asking you to initialise the disk. These details help a technician classify the fault without repeated testing.
- Check your backups carefully. Confirm that Time Machine has completed a recent backup and that important files are available in iCloud Drive. Don't assume a backup is usable until you can see the required files.
- Rule out simple external causes. A loose USB-C cable, failed enclosure, damaged adapter, or full destination disk can look like a failed drive. Test cables and accessories only when the device is quiet and stable.
- Use macOS Recovery rather than the normal desktop. Recovery provides a safer environment for checking the storage with fewer background writes.
Apple Singapore's official guidance starts with a current backup, then recommends running First Aid in Disk Utility across each volume, followed by the container and the device. If you started from macOS Recovery, Apple says to restart afterwards. It also warns that Disk Utility may find errors it can't repair, so First Aid isn't a guarantee of recovery. Read the full Apple storage repair guidance for Singapore Mac users before proceeding.
For general background on recovering lost files without making the situation worse, Blowfish Technology file recovery offers useful context. You can also refer to this Mac that won't boot and needs file recovery guide.
The most damaging first move: reinstalling macOS or repeatedly running repair tools on the sick drive. Preserve the original state before attempting changes.
Logical Failures Versus Physical Failures
The distinction is practical. A logical failure affects the organisation or interpretation of data, while a physical failure affects the storage hardware itself. The same missing folder can result from either problem, but the safe recovery path changes completely.
A logical problem often leaves the drive visible and quiet. The Mac may still mount the volume, but files can be corrupted, folders may be missing, or macOS may ask you to initialise a drive that appears otherwise healthy. A failed update, damaged APFS structure, accidental deletion, or directory corruption can produce these symptoms.
Physical faults tend to be more urgent. Repeated clicking, buzzing, grinding, silence from an HDD, or repeated beeps suggest a hardware problem. A question-mark folder can also indicate that the Mac can't find a bootable system, while an SSD cable, controller, or logic-board fault may make the storage disappear entirely.
Read the macOS clues
Open Disk Utility from macOS Recovery and check whether the device appears in the sidebar. If it's absent, System Information can provide another clue. Look under USB or SATA for an external or internally connected device. A drive that appears with its expected capacity but won't mount may point towards logical corruption. A drive that disappears, shows no meaningful capacity, or appears uninitialised needs more caution.
| Indicator | Likely Logical Failure | Likely Physical Failure |
|---|---|---|
| Sound | Quiet operation | Clicking, buzzing, grinding, or silence |
| Finder behaviour | Volume mounts, but files or folders are inaccessible | Volume repeatedly disappears or never mounts |
| Disk Utility | Volume or container is visible | Device may be absent, greyed out, or uninitialised |
| macOS prompt | May ask to initialise despite visible storage | May refuse to recognise the device |
| Safe next step | Preserve data, then consider software checks | Power down and seek specialist evaluation |
Don't treat these categories as interchangeable. Software can sometimes rebuild a logical structure, but it can't repair a damaged read/write head, failed SSD controller, broken cable, or defective board. This plain-language guide to data recovery provides further context on why diagnosis comes before treatment.
Safe DIY Checks You Can Try First
DIY checks are appropriate only when the drive is quiet, stable, and still visible to macOS. Treat them as triage. They can help you identify a software-level fault or copy accessible files, but they're not a substitute for a recovery image or laboratory work.
Start without changing the data
Boot into macOS Recovery. On an Intel Mac, restart while holding Command-R. On Apple Silicon, hold the power button until the startup options appear, then choose Recovery. Open Disk Utility and select View > Show All Devices so you can see the physical device, container, and volumes.
Apple's recommended sequence is to run First Aid on each volume, then the container, then the physical device. For a Mac started in Recovery, restart after the checks. If the device begins clicking, drops out during the scan, or produces a new smell or sound, stop immediately.
Copy files before repairing if the drive mounts read-only. Use another healthy drive or iCloud Drive, and begin with irreplaceable folders such as Photos libraries, Desktop files, project folders, and financial documents. Copy smaller groups rather than launching a huge transfer that may keep a weak device active for too long.
Keep the remaining checks limited
A safe restart can clear a temporary kernel or connection problem, but don't use repeated restarts as a recovery strategy. If the Mac remains stable, Console can help you observe repeated disk-related errors. Look for recurring messages involving I/O errors, mount failures, or device disconnections, then record what you see for the technician.
Run First Aid again only after your important data has been copied, and only when the symptoms remain consistent with a logical failure. Don't use Disk Warrior, terminal repair commands, or recovery software on a drive showing physical symptoms. Advice about fixing a hard drive can be useful for healthy systems, but a failing storage device needs preservation first.
Stop if you hear clicking, grinding, beeping, or sudden spinning-down, or if the drive unmounts during copying. Smoke or a burning smell means power the Mac down immediately. No more reboots, First Aid, Disk Warrior, or experimental commands. This guide to recovery from a failed hard drive explains why continued activity can make later extraction harder.
Knowing When to Stop and Call a Lab
The right moment to stop is before the drive becomes completely inaccessible. If the storage device is making a new mechanical sound, shut it down. If Disk Utility can't complete First Aid or the drive repeatedly disappears from Finder, stop testing. If an external enclosure or connector is damaged, isolate the accessory rather than repeatedly reconnecting the storage.
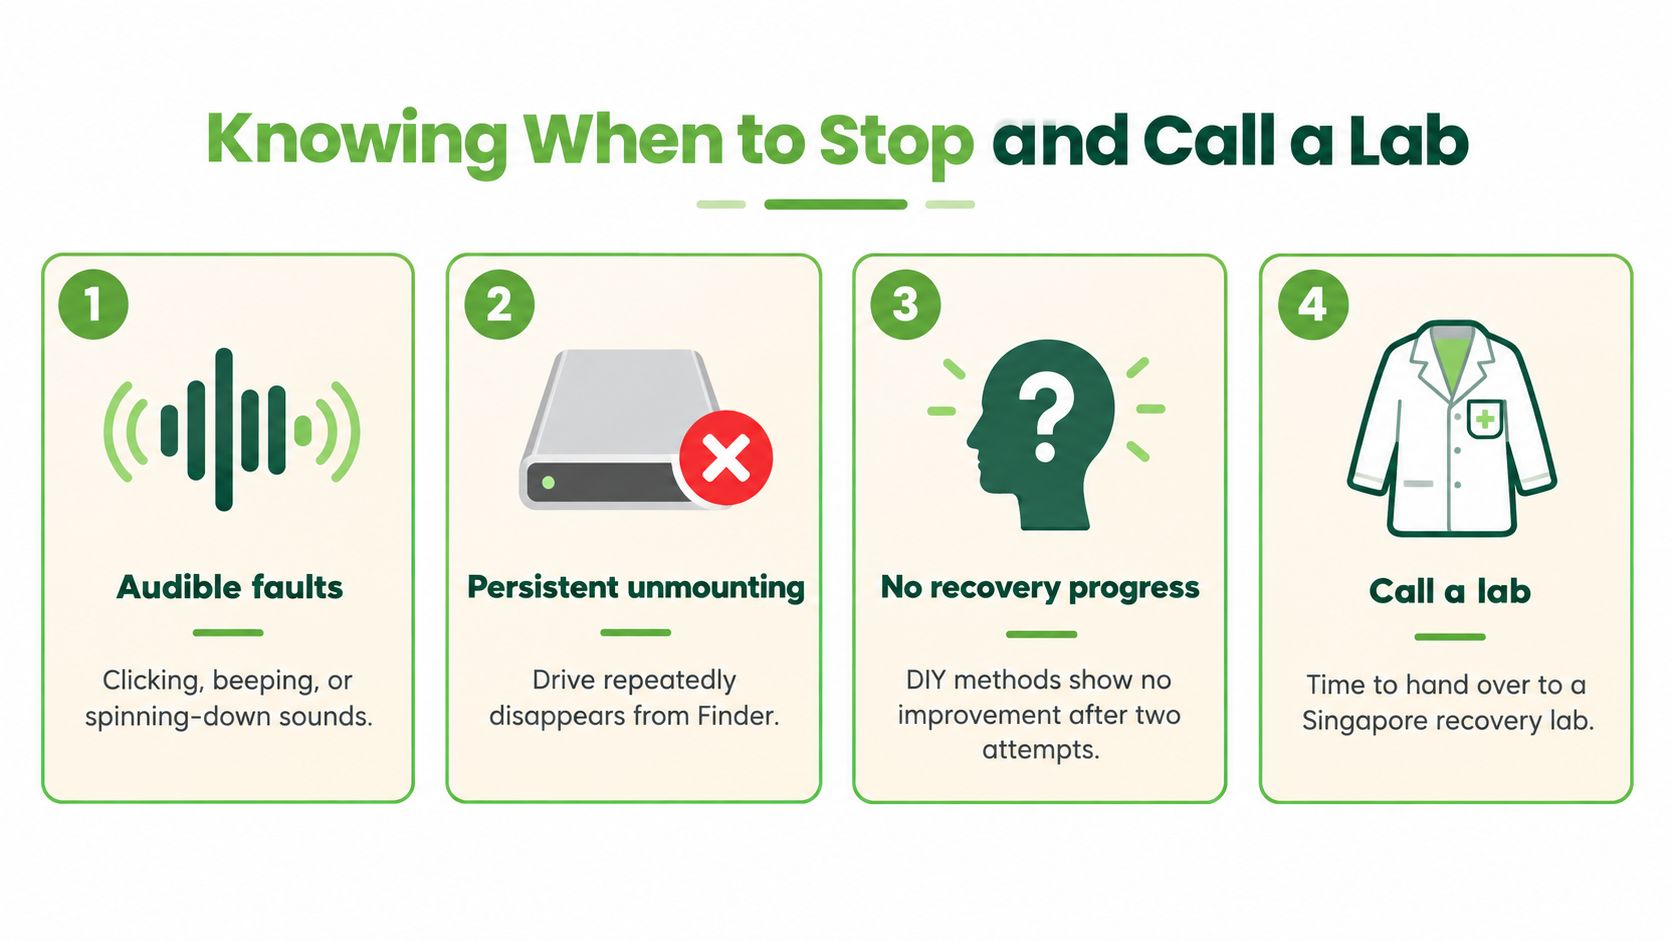
Stop signs that need a Singapore lab
- Audible faults: Clicking, beeping, grinding, buzzing, or repeated spin-down sounds mean the device shouldn't be exercised further.
- Persistent unmounting: A drive that repeatedly disappears during browsing or copying needs controlled imaging.
- No visible recovery path: If the device vanishes from System Information, an SSD or NVMe fault may need board-level or specialist handling.
- Liquid or impact damage: Power down and keep the device in its current condition. Don't dry it with heat or open the drive.
DIY can remain reasonable when an APFS container is corrupted but the hardware is quiet, when files were deleted from a healthy drive, or when a macOS upgrade has left a spinning disk mounting read-only. Even then, copy what you can before repair.
Repeated power cycling is the common mistake I'd most like Mac owners to avoid. Each start-up gives a failing device another opportunity to deteriorate, and it can also add background writes to a logical case.
If you can hear the drive, stop. If software can no longer reach the data, stop. If the files matter more than experimenting, stop early and request an assessment.
Inside a Professional Recovery Lab
A proper lab doesn't begin by clicking random utilities. It begins by documenting the device, the reported symptoms, previous attempts, and the files that matter most. The customer should receive a diagnosis and quotation before recovery work proceeds. One Singapore service describes a sequence of free assessment, diagnostic scan, fixed quotation, recovery, file verification, and secure delivery. Its published timings list logical jobs at one to three days and physical jobs at three to seven days, with logical recovery starting from S$80 and physical recovery from S$200. See the Singapore recovery workflow and service details for that model.
The original media comes first
For a logical case, technicians use write-blocked equipment and create a sector-by-sector image, or a controlled mirror, before analysing the file system. The original drive isn't treated as a workspace. Imaging can reveal weak sectors or media damage that wasn't obvious when the Mac first stopped opening files.
A physical HDD case takes a different route. Technicians may open the drive in Class 100 clean-room conditions for component isolation and repair. Depending on the fault, work can involve a matched head assembly, platter cleaning, or spindle intervention. These procedures aren't suitable for a kitchen table or ordinary repair counter because contamination can further damage the recording surfaces.
Modern Mac storage needs specialist handling
SSD and NVMe recovery may involve controller-aware firmware work, controlled chip extraction, or board-level repair. Modern Apple storage can also be tightly integrated with the Mac's security architecture, so a technician needs to assess the original board, storage path, and encryption requirements. You shouldn't need to provide your Apple ID password for a standard recovery assessment. Keep any local login password or FileVault recovery key available, but don't share account credentials unnecessarily.
After extraction, the lab reassembles the file system, reconstructs RAID or NAS data where relevant, and checks the recovered folders against your expected structure. Files are then delivered on a new encrypted USB or external SSD, or through secure transfer. For business devices, chain-of-custody documentation helps record who handled the device and when.
Here's a visual explanation of the process before you decide what to do with the original media:
Success Rates, Pricing and Turnaround
Singapore recovery providers publish different figures because failure categories behave differently. A quiet logical problem isn't comparable to a clicking HDD, and an untouched array isn't comparable to a rebuilt one. Treat every published figure as an indicative scenario range, not a promise for your specific Mac.
One Singapore provider quotes 80–85% for logical HDD failures, 93% for untouched clicking or failed-head drives, and 95% for RAID and NAS arrays that haven't been rebuilt. The same provider says standard service can return data in three to five working days after receiving the media. Its Singapore recovery page also identifies sector imaging and warns that opening a drive, repeated power cycling, or attempting software recovery on a physically failing disk can reduce recoverability. See the Singapore hard-disk recovery workflow and scenario ranges.
| Failure Type | Typical Success Rate | Price Range (SGD) | Standard Turnaround |
|---|---|---|---|
| Logical HDD failure | 80–85% | S$180–350 | Three to five working days |
| Untouched clicking or failed-head drive | 93% | S$450+ for physical recovery | Three to five working days |
| RAID or NAS array not rebuilt | 95% | Quote required | Three to five working days |
| Logical recovery, indicative local service band | Not stated for this provider | From S$80 | One to three days |
| Physical recovery, indicative local service band | Not stated for this provider | From S$200 | Three to seven days |
The pricing bands above come from CBL Singapore's recovery service information and HiTech IT Services' Singapore pricing and timing page. They show why a fixed quote matters. Logical work generally costs less than physical intervention, while the condition of the media, previous power-ons, encryption, and the importance of particular files can change the recommendation.
Ask the provider whether assessment is free, whether the quote is fixed, what happens if only part of the folder structure is recoverable, and how the recovered files will be verified. A clear lab will explain the trade-off before it starts.
After Recovery, Data Security and Disposal
Getting the files back doesn't finish the job. It changes the priority from Save data to Safe data. The failed drive, old Time Machine disk, replacement media, or recovered computer may still contain personal information, client documents, payroll records, photographs, or medical files.
Singapore's PDPA guidance says personal data on a hard disk may be disposed of using specialised erasure software, but the method must make the data unrecoverable, whether partially or fully. The guidance distinguishes sanitisation for rewritable electronic media from physical destruction, so recovery and disposal shouldn't be treated as the same service. Read the PDPC guidance on disposing of personal data on physical media before retiring a drive.
Choose the right end-of-life outcome
If the drive is healthy enough to sanitise, use a documented erasure process and retain the report. If it's damaged, unresponsive, or no longer suitable for reuse, secure physical destruction may be more appropriate. A normal macOS erase or factory reset shouldn't be your only evidence when the device has already shown faults.
Singapore's Resource Sustainability Regulations 2019 require a licensed e-waste recycler to ensure that data on a data-bearing device received for disposal is permanently erased or destroyed before reuse, recycling, disposal, or transfer to another disposal facility. The requirement also covers transfers to facilities inside or outside Singapore. Keep the collection record, erasure or destruction certificate, asset identifier, and disposal provider details for your internal records.
For practical background on lasting data destruction tips, focus on verifiable outcomes rather than reassuring language. A responsible workflow should tell you whether the device was sanitised, physically destroyed, or returned for continued use.
myhalo's Save data and Safe data services fit naturally on the same timeline. The first protects important files through recovery work, while the second supports secure data handling and destruction before a device is reused, traded in, or sent for e-waste processing.
Your precious files and memories matter to us. Whether you need to protect your privacy with Safe data or rescue lost files with Save data, myhalo can help you choose a careful next step in Singapore. Reach out before powering the Mac on again, and let's keep your data secure while working towards a responsible zero e-waste outcome.