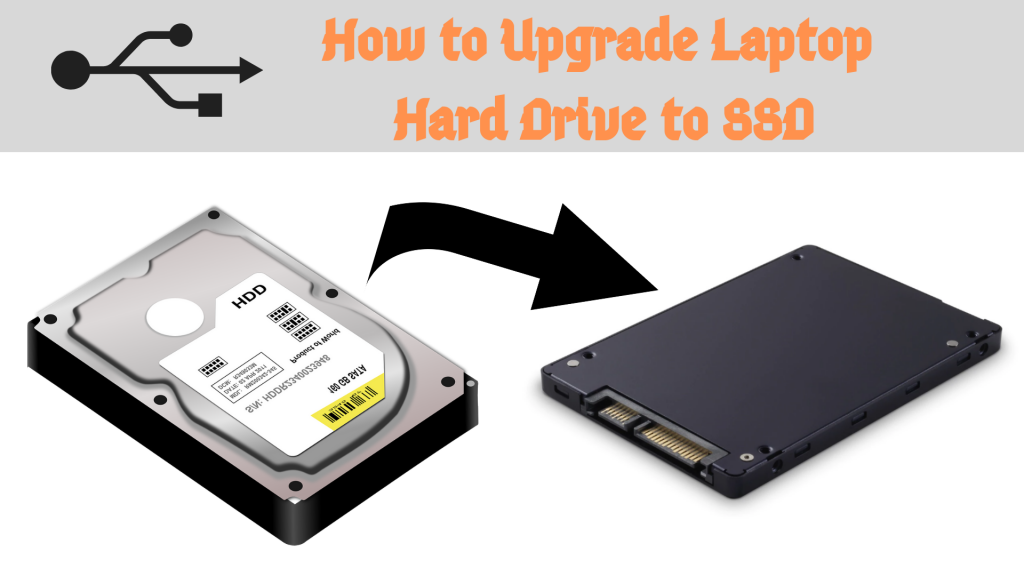
In today’s blog, we are going to discuss how and where to Upgrade Your Laptop With an SSD which is a process that seems to be quite complex but is very simple only if you have easy access to your hard drive via a removable panel towards the bottom of the laptop. The steps will help the people that have a removable panel, cloning your system and making the big swap of hard drives. The premiere step in Where to Upgrade Your Laptop With an SSD, is to find the right kind of SSD form factor and interface. The rest of the things come after you go for or the big decision of purchasing SSD.
The Pre-requisites
When you are going to buy an SSD for your system make sure that it has enough room for windows partition and any system recovery partitions because that is the key requirement whenever choosing an SSD. Once you have found the suitable SSD for your system the next step is to separate the external hard drive which can be optional. There may be a need to remove the external hard drive in case you have large folders such as photos and videos that might not fit in your SSD.
Preparing the System
Any big swap or any major change when done to a system the first thing one must keep in mind is to keep a backup of the data that was in your system. To create a system image backup in Windows 10 you need to go to the control panel and go to the save backup copies of your file with the file history option. towards the left of the menu, you will find system image backup which will be used to create a system image of an external drive or network location. Following this, you need to move the larger files that are not required to be kept in the SSD. This is required because in most cases the SSD is much smaller on storage as compared to a hard disk drive hence it is very important to move the larger files from the system. Once you have performed moving of the files you need to clean up your drive for additional space. This process can include uninstalling programs you are no longer using, deleting unnecessary files and more.
Connect the SSD
Once you are done with handling the data in your system you need to physically connect the SSD now. To achieve this you need to place the SST in an enclosure or connect it through USB to a SATA adaptor. Once done connected to your laptop with the USB cable. The next step is to initiate the SSD. In any case, if your SSD does not get detected in your system then you need to head to the Windows disk management tool in which you need to search and look for disk management and choose the “create and format hard disk drive partition” option. There if it is reflecting as not initialized go on to right click and choose “initialize disk” to initialize it. Once this step is done you need to resize the current drive partition to be the same size or smaller than the SSD. In case your current disk’s primary partition is not larger than the SSD then you will be required to shrink the partition so that the other system recovery partitions are comparatively smaller than the SSD. So to do that right-click on the OS partition and choose the shrink option.
Clone your hard drive
To perform this particular step you need to first install disk cloning software and further select the source and destination drive in the cloning software. Make sure that you take the “optimize for SSD” option there. Once done you need to review the layout and start cloning. This process may take up about 45 minutes to complete depending upon the mileage of your system.

(2) If you clone a hard drive in Windows 7/8/10 for a computer upgrade, you can directly clone the original drive to another disk like SSD in the same computer. This way doesn’t have an intermediate step. Source : https://www.partitionwizard.com/clone-disk/clone-a-hard-drive.html
Now you need to physically swap your current drive with the SSD. For which you need to perform the following steps:
- Turn the computer off and further remove the back panel.
- Look if any screws are securing your drive to the laptop then you need to unscrew them.
- Remove the old drive about 30 to 45 degrees and pull it out to avoid any damage.
- Now you need to place the SSD and put the back panel on.
If you are afraid to perform the steps in Where to Upgrade Your Laptop With an SSD then you can consult Digital Hospital.
Also Read : https://pcdreams.com.sg/we-wipe-out-your-data-before-recycle-your-device/
